
So you just bought a new computer, now what? There is a lot more involved in setting up a computer for the first time than simply plugging in a cable and hitting the power button. If you have never tried to set up a computer, this guide will help you get up and running in no time. And for seasoned users, included are some tips and tricks that should make your next home PC setup faster and easier than ever.
Note: this guide is specific to computers running Windows. Here is a great Mac setup tutorial.
PHYSICAL SETUP – CABLES AND PORTS
If you purchased a laptop, this part is easy. Simply plug the laptop into an electrical socket with the included A/C adapter and let it charge. You can even use the laptop while it is charging.
For how to hook up a desktop computer, there are a few more steps involved, but nothing too difficult. Below is a picture of the various ports that are on desktop computers. Computer models do vary, and your computer might be missing any of the ports included in the picture. However, all computers have a combination of the ports shown, and it is beneficial to familiarize yourself with them even if your current computer does not have them all.
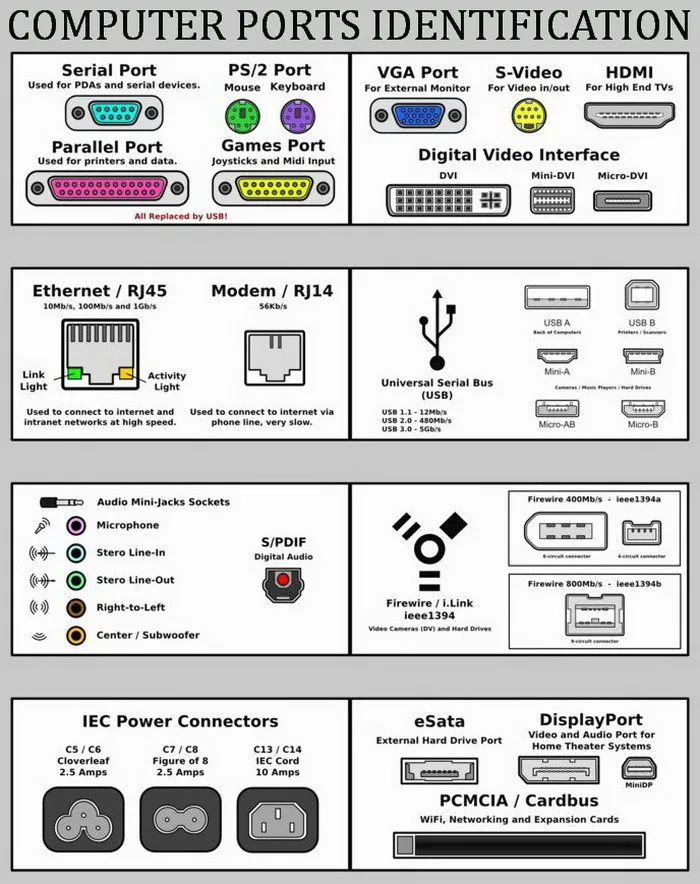
The main ports and cables you will need for basic use are the:
Power connector

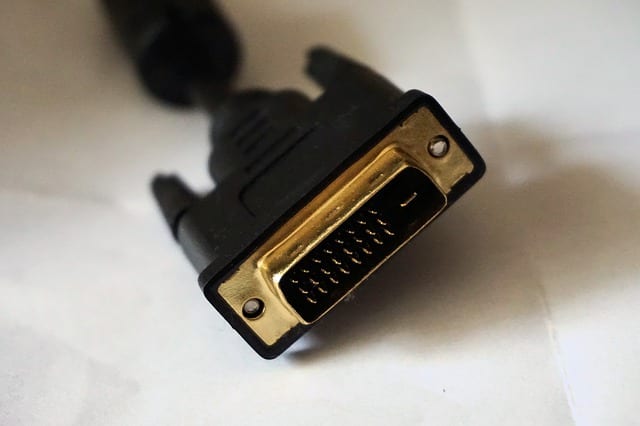
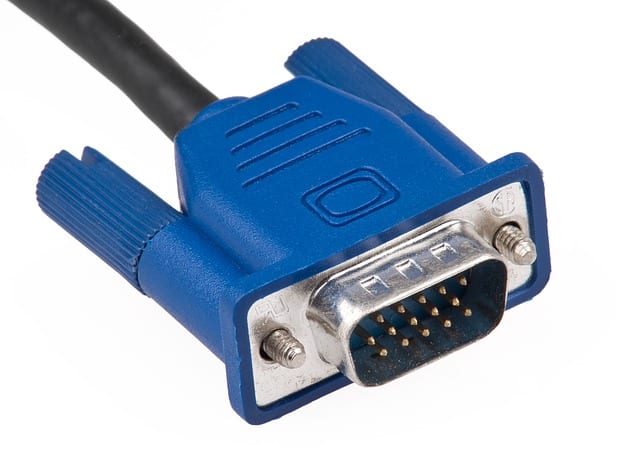
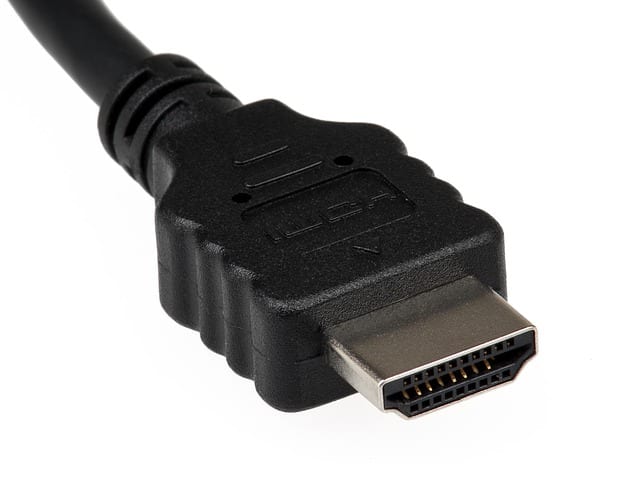
Monitor display (will be one of these: DVI/VGA/HDMI)
And Ethernet
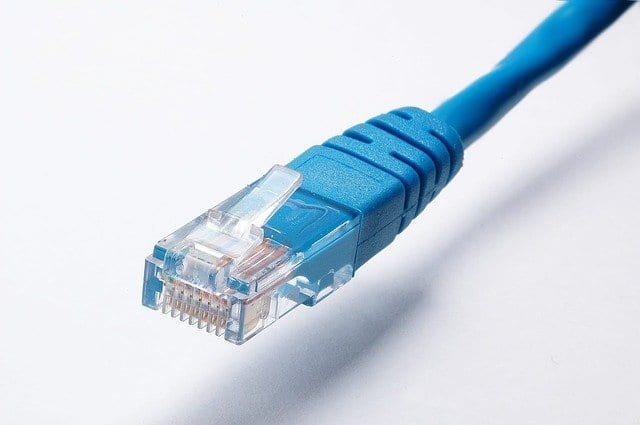
Giving you power, monitor display, and internet access, respectively.
Plug the cables into their associated ports and you’ll almost be ready to power up the computer for the first time.
If you’re still having a tough time hooking up your cables, a good rule of thumb is if the cable fits, it’s probably in the correct place (without forcing it, of course). Most are designed to only fit into one type of port.
Keep in mind that your monitor display cable will need to run between the monitor and the computer, and the Ethernet cable between your internet router and the computer; the power cords (both your computer cable and the monitor’s power cable) are the only ones that will need to be plugged into an electrical socket.
HOOK UP PERIPHERALS
To actually use the computer, you’ll need to connect a mouse and keyboard. The vast majority of recent keyboards and mice use a USB connection, making it simple to find a usable port.
Simply plug your mouse and keyboard, or their adapter(s) if they are wireless, into any available USB ports and they will be ready to go. If you are using an older keyboard and mouse setup, you will need to connect them using the green and purple PS/2 ports shown in the chart above. Luckily, these cables are color-coded at the ends; simply match up the color with its corresponding port and you’ll be on your way to using your new computer.
Now is a good time to connect any other peripherals you may have, such as a printer/copier/scanner or speakers. Most of these items will be connected through a USB port. However, some older printers use the pink parallel port shown above.
Likewise, some speakers still use the green/pink, circular audio jack. Use the chart above along with color coding and size to get all your cables in their correct ports.
Once all your cables are connected and you’ve double-checked for accuracy, you’re ready to turn on your new computer.
FIRST TIME SETUP
If you’ve purchased a refurbished or pre-configured machine, chances are you will not have to go through the first-time setup and it will boot straight to the desktop. In that case, skip to the next section.
If you see a welcome or setup screen upon booting your machine, you’ll be taken through a first-time setup. This will be a fairly simple process that will ask you to set your preferred language, time zone, and other basic questions to customize your user experience.
Follow the onscreen instructions and you’ll eventually be booted to the desktop where our real work begins.
CONNECT TO THE INTERNET
For desktops connected directly to a router using an Ethernet cable, you’ll be automatically connected to your network and generally won’t need to take any further steps. For laptops and desktops utilizing wireless cards for WiFi capability, you’ll need to connect to your chosen network.
The first-time setup if present will help you through this process, but if you are booted straight to the desktop or need to add additional networks, follow this guide.
First, ensure you know any needed credentials, such as if you have a network password setup to prevent others from using your WiFi or connecting to your network without authorization. Also, make sure you know the name of the network you’ll be connecting to. Often this will be displayed on your router itself, or you named it yourself during the setup of your home internet network.
Navigate to Network Connections/Network and Sharing Center, either using the Control Panel via the Start Menu or by typing “network” into the Start Menu search bar.
Click or right-click on the desired network and hit “connect”, the computer will work to connect you to the network wirelessly and may ask you to enter in the password if there is one set up.
Alternatively, you may also see a Wi-Fi signal icon in the Windows taskbar in the lower right-hand corner of your desktop where the time and date are located. This icon will also take you to the internet options you need to get set up.
If you simply can’t get connected to the network or the PC tells you your password is incorrect, call your internet service provider and they will help you get connected correctly.
SECURITY AND ANTIVIRUS/MALWARE
Before you start surfing away on the internet, you will want to make sure your new computer is protected against viruses and malware. Some computers will come with a free basic antivirus, such as Microsoft Security Essentials, installed already. It may also have a trial subscription included, commonly Norton or McAfee. If you are happy with the protection that already comes with the computer, simply open it to make sure the software is up to date and active and go through any setup process required.
Our recommendation for paid antivirus protection is ESET. ESET is a great program that is very lightweight and won’t slow your computer down while it is running, and tends to stay the most up-to-date with new virus and malware definitions as they are found. ESET offers 30 day free trials of all its antivirus software, making it a good program to test on a new computer without having to immediately commit.
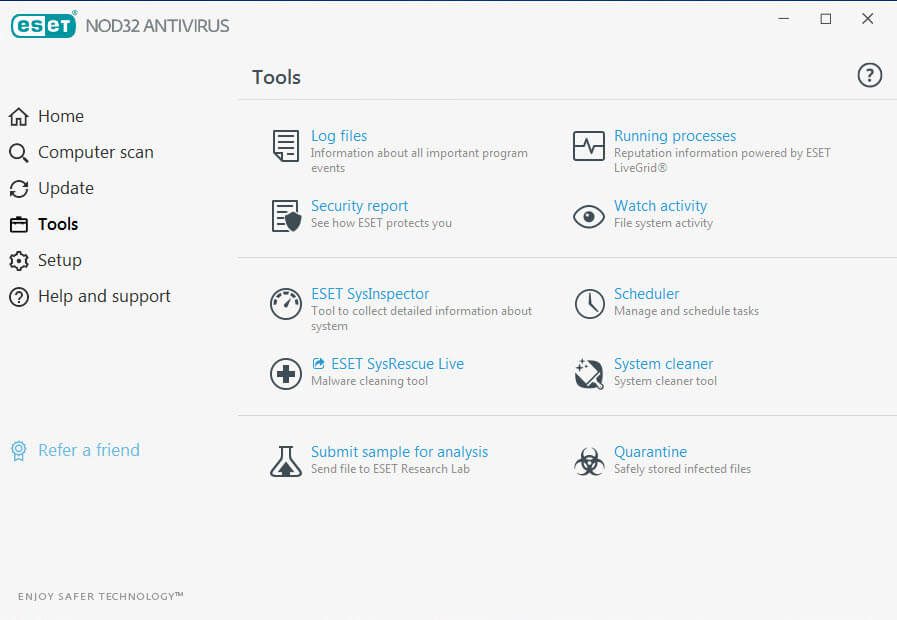
ESET Endpoint antivirus interface
Avast and AVG are also popular free alternatives to Microsoft Security Essentials if you are not satisfied with Microsoft’s protection. Whichever program you choose, make sure you are equipped with some sort of antivirus protection before working online. For additional protection, try MalwareBytes Anti-Malware to keep pesky malware and adware at bay.
SOFTWARE AND WINDOWS UPDATES
If your computer is brand new, there will be a number of Windows Updates needed to get it up to the latest version. Even with a refurbished machine, it is good practice to check for any new updates that may have come out since the computer was last worked on.
Navigate to the Windows Update screen by either typing “Windows Update” into the Start Menu search bar, or using the Control Panel.
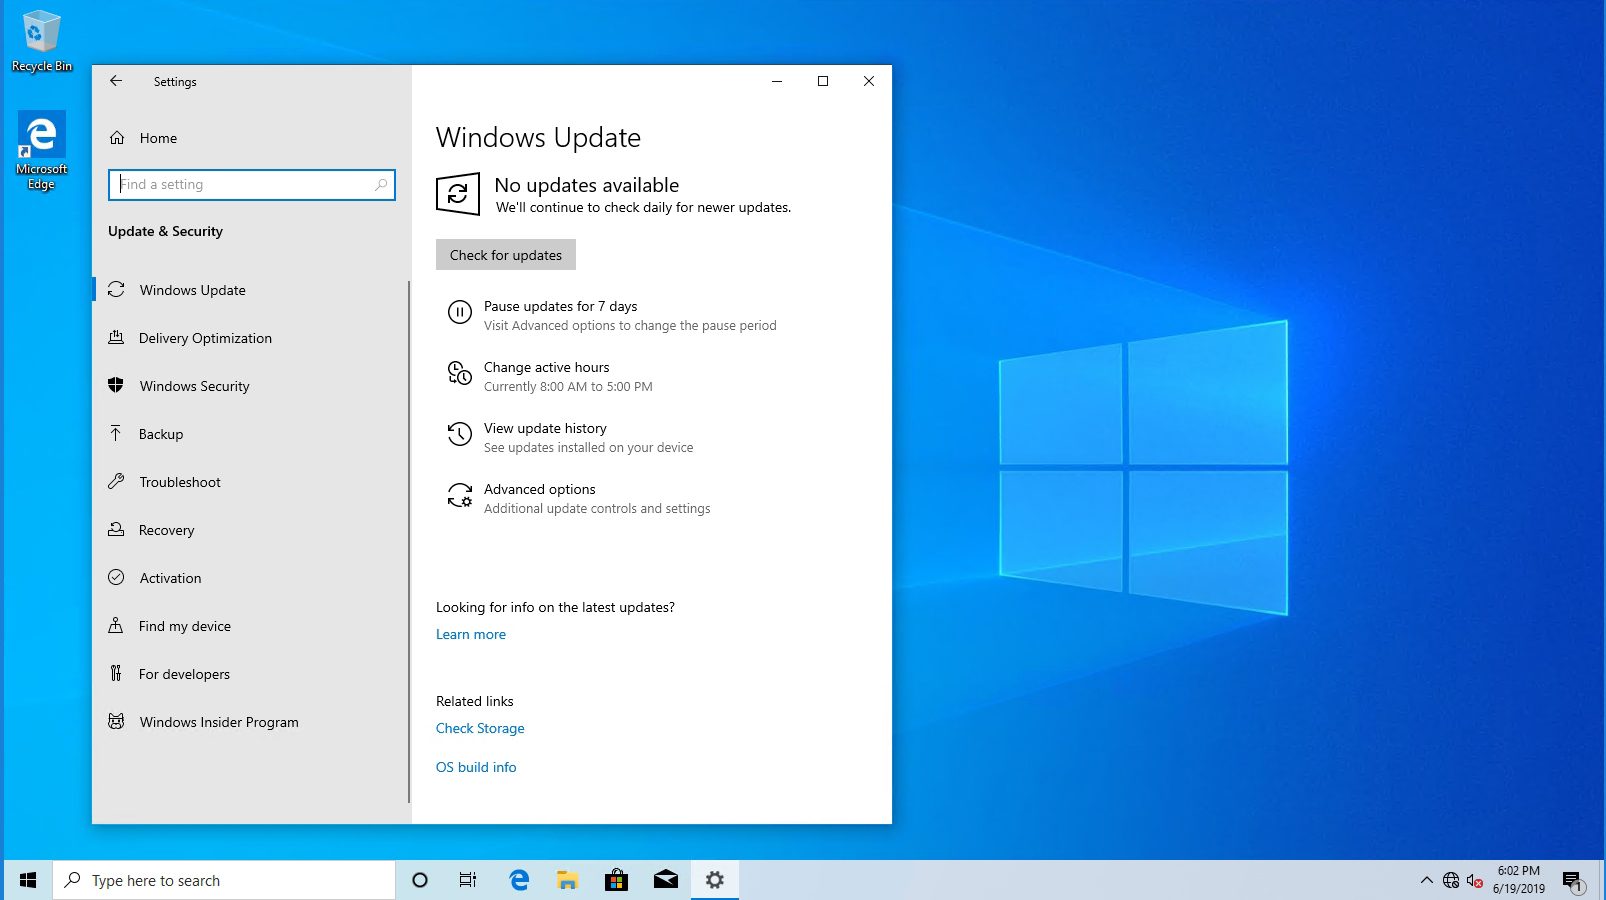
Windows Update center – redmondmag.com
Click “Check for updates” in the left-hand menu, and wait for Windows to scan for the latest updates. When it is finished, you will be notified of the amount of “Important/Required” and “Optional” updates available. Important updates are things like patches, security updates, and other items that are critical to keeping your computer running smoothly and up to date.
Optional updates commonly include things like driver updates for both internal and external hardware, free Microsoft software or toolbars, and other minor updates that are not necessarily integral to your computer but can be helpful and sometimes needed to keep connected devices like printers running properly.
While you should install all the required updates, you can be a little more choosy with the optional ones. Click on the highlighted text from the Windows Update screen to view all the available updates, make sure that the boxes next to them are checked, then click install and Windows will begin downloading and installing the selected updates. You will likely have to restart your computer afterward to complete this process, which Windows will let you know.
For a new computer, running Windows Update around three times should be enough to make sure you’ve downloaded everything needed. Updates beget updates, and many times the first round of updates will install something that in turn needs another update to work properly. Checking for updates three times and installing should ensure you’ve gotten everything.
If there is an optional update you know you don’t need and want to keep it from cluttering your update page, you can stop Windows from offering you any one optional update by right-clicking it and selecting “Hide this update”. Keep in mind though you will have to repeat this step each time Microsoft ships a new release of the optional download.
Most computers are set to automatically download and install Windows Updates, and you can change this setting at any time by clicking “change settings”. However, it is recommended to leave it working automatically to avoid missing any important updates.
Software
After you’re done with Windows Update, now is a good time to ensure you’ve got any additional needed software on your computer. This could include Microsoft Office or a similar office program, Adobe Reader, a media player like VLC Player or iTunes, Skype, or anything else you use.
While this can be done manually piece by piece, a much quicker method is to use a program called Ninite. Ninite lists a majority of these commonly used and downloaded programs, allowing you to choose which programs you want to install and bundling them in a simple installer that downloads and puts them on your computer all at once without you having to do much work at all. Ninite also helps keep you from accidentally installing malware, adware, or the optional downloads that companies sometimes like to sneak into their installers that will put ugly toolbars and other unnecessary junk on your PC; Ninite automatically says “no” to these optional, annoying downloads.
Navigate to Ninite’s homepage, put a check in the box of the programs you wish to install, then click the green “get installer” button. Allow the download, open the installer, and Ninite will get to work downloading and installing all the programs while showing you the progress along the way.

Ninite installer
Additionally, you can also use Ninite to update these programs once installed on your computer. Simply run the installer again or go through the Ninite website, and it will update any selected programs to their latest versions.
This process will save you a great deal of time and frustration over trying to download every program individually. Ninite only lists programs that are free to use, so if you have any paid software to install, such as Microsoft Office or Adobe Photoshop, those will have to be installed manually.
REMOVE BLOATWARE
“Bloatware” is the slang phrase used to describe software that generally has lots of features and requires considerable disk space and memory to install and run, and commonly comes pre-packaged on new computers.
As the cost of memory and disk storage has decreased, there is a growing trend among developers to disregard the size of applications and the end result is bloated software aka bloatware. This software may or may not be useful to you, and each manufacturer will have different programs pre-installed on new machines, so it is up to the end-user to determine what should stay and go.
Bloatware takes up a sizable chunk of space and power on your computer, so it is good practice to remove anything unneeded to keep your PC running as quickly and smoothly as possible and keep disk space available. Computer manufacturers package bloatware on their computers to make additional profits on their machines: software developers pay the companies to put their software on computers.
Examples of this could be audio or video players, photo editing applications, CD burning software, etc. If you like these programs and plan on using them, there is no harm in keeping them on your computer. However, if you have no use for them and want to de-clog your computer, you’ll want to uninstall as many extraneous programs as possible.
Uninstalling unwanted programs can be done manually using Windows’ built-in program uninstaller, but a much easier way is to use an automated program that recognizes these types of software. PC Decrapifier is one of these programs and is free to use, simply install it on your new computer and let it run, finding the programs that you likely don’t want or need and making it quick and simple to uninstall them.
This process of testing and uninstalling unwanted programs may take a while but is well worth it in the long run, usually cutting full minutes off of boot time and making your computer run much more quickly.
CREATE A BACKUP
Now that you’ve got your new computer exactly how you like it, it is a good idea to set up a backup in case of a hardware failure or crash. Backups can be done to physical hardware, such as an external hard drive, USB flash drive, or CD/DVDs.
But with new cloud technology many people are choosing to use a cloud backup service such as Carbonite or OneDrive to ensure that even in the event of a complete hardware failure or loss, your files will still be safe and accessible from any internet-connected device.
We have written a comprehensive backup guide that includes choosing the right storage medium for you, and how to create your initial and ongoing backups.
Read our two-part series here for step-by-step instructions and explanations:
Part One – Choosing a Storage Medium
Part Two – Choosing a Method and Configuring Your Backups
After following this guide your computer will be optimized and updated, protected against virus infections, and ready for you to begin using. While it can be a fairly time-consuming process, setting yourself up for success initially is much easier than trying to combat problems later on down the road.